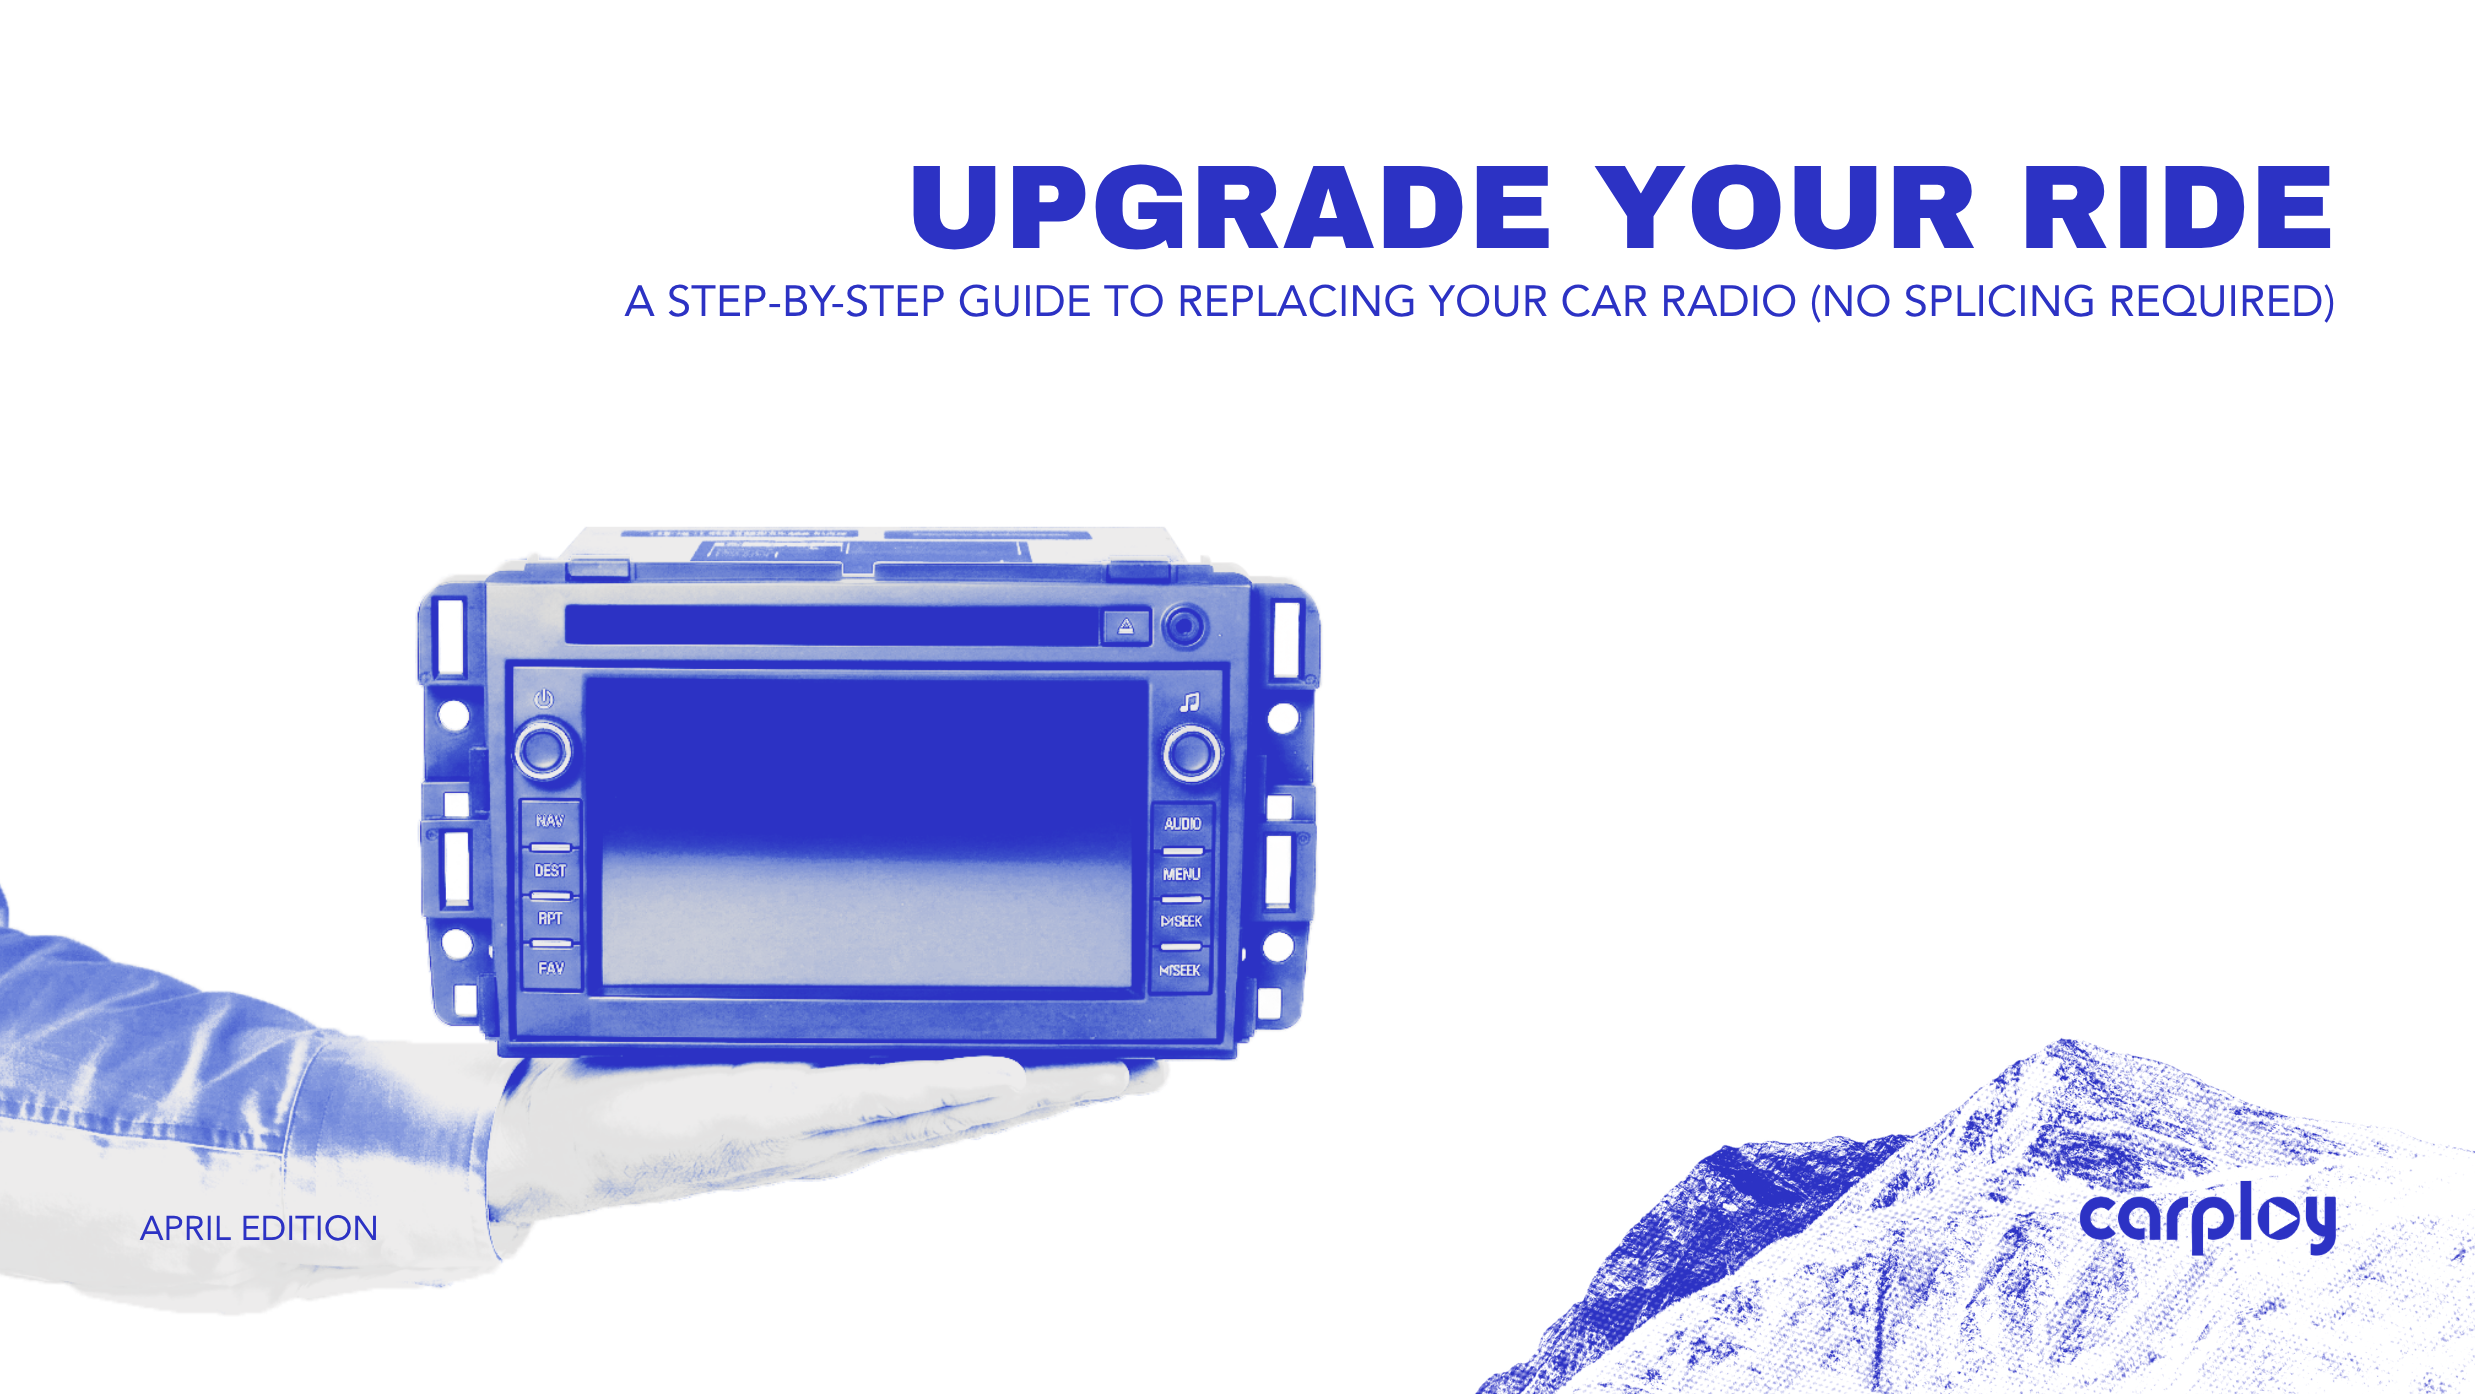
Are you driving a vehicle you love, but relying on an infotainment system you hate? Whether you are dealing with an unresponsive touchscreen, a frustrating lack of modern features like Apple CarPlay and Android Auto, or a display suffering from bubbling and delamination, an outdated radio makes your entire cabin feel old. Dealerships often quote upwards of a thousand dollars for a basic factory replacement. The good news is that you can completely modernize your dashboard right in your own driveway and you do not need an electrical engineering degree to do it.
The Evolution of the Audio Upgrade
In the past, replacing a head unit meant spending hours studying complex wiring diagrams, stripping wires, and slicing directly into your car’s delicate electrical system. One wrong splice could disable your gauges, introduce audio static or create a parasitic battery drain.
Today, the automotive electronics landscape has completely shifted. Thanks to proprietary plug-and-play wiring harnesses, upgrading your radio is now a straightforward modular process. These custom-engineered harnesses act as a direct data bridge between your upgraded screen and your vehicle’s factory CAN bus network. This ensures that essential features like steering wheel controls, factory backup cameras and climate displays communicate seamlessly with your new unit, with absolutely zero wire cutting required.
The Universal DIY Radio Replacement Guide
While exact bolt locations vary whether you drive a RAM, Ford, or BMW, the core mechanics of a plug-and-play installation remain universally consistent. Follow this diagnostic and installation checklist to ensure a smooth upgrade.
Step 1: Gather Your Tools
Having the right equipment prevents damage to your interior. You will need:
- Non-marring plastic trim removal tools: Essential for popping off bezels without scratching the plastic dashboard.
- A basic socket set: Most factory radios are held in by 7mm, 8mm or 10mm bolts.
- A Phillips head screwdriver.
- A thick microfiber towel: To rest the old radio on so its metal chassis does not scratch your center console.
Step 2: Disconnect the Battery
Always prioritize safety. Locate your vehicle’s battery and disconnect the negative terminal. This prevents accidental short circuits and ensures you do not trigger an airbag warning light when unplugging passenger indicator panels surrounding the radio.
Step 3: Remove the Surrounding Dash Trim
Work your plastic trim tool gently around the edges of the radio bezel. Apply steady, outward pressure to release the retaining clips. Take your time here, automotive plastic can be brittle. Once the panel pops loose, carefully disconnect any wiring attached to the bezel, such as climate controls or hazard light switches.
Step 4: Extract the Factory Unit
With the bezel removed, the mounting bolts will be exposed. Remove these bolts and keep them in a secure place. Gently slide the factory radio out of the dashboard cavity. Squeeze the release tabs on the back of the factory wiring blocks to unplug the antenna and main harnesses.
Step 5: Connect the Plug-and-Play Harness
This is where choosing a high-quality upgrade pays off. When you source your replacement components from a trusted supplier like CarPlayNav.com, the unit arrives with a harness pinned specifically for your make and model. Simply click the factory vehicle connectors into the matching ends of your new harness and plug the other end directly into your upgraded display. You will feel a distinct "click" when the connections lock securely into place.
Step 6: Test Before Final Reassembly
Before putting the bolts back in, reconnect your car battery. Turn the ignition to the accessory position and verify that the new screen powers on. Test your audio output, cycle through your steering wheel controls and shift into reverse to confirm the backup camera feed is active. Once verified, slide the unit into place, secure the bolts and snap the dash bezel back onto the dashboard.
Modernize Your Dash Today
Replacing your car radio is no longer a daunting, weekend-long chore reserved for professional installers. By utilizing pre-wired harnesses and taking your time with basic hand tools, you can add years of life and modern functionality to your vehicle in under two hours.
Ready to ditch the outdated screen and get the OEM-quality upgrade your vehicle deserves? At CarPlayNav.com, we specialize in premium factory-style infotainment systems tailored for a perfect fit. We back our plug-and-play products with strict fitment guarantees, comprehensive US and Canadian support and fast shipping directly to your door.
Talk to a Specialist
Not sure if your screen is repairable or if you’re better off with an upgrade? Our team is standing by to help you diagnose your specific issue and find the most cost-effective path forward.
Contact our support team here.


